Showing posts with label family. Show all posts

Saturday, March 17, 2012

Exciting news!

If you don't already know...I have some news...

 Coming Fall 2010!


Those top pictures are nice, but here's how it really went down:


This is part of the reason I have had no desire to sew lately...I am just too darn tired! Not to mention dizzy...so dizzy. But I should be back soon with some fun projects! I have one Pinterest project in the works...I will reveal it soon!

Until then...

Saturday, February 18, 2012

Mama's 'Lil Helper

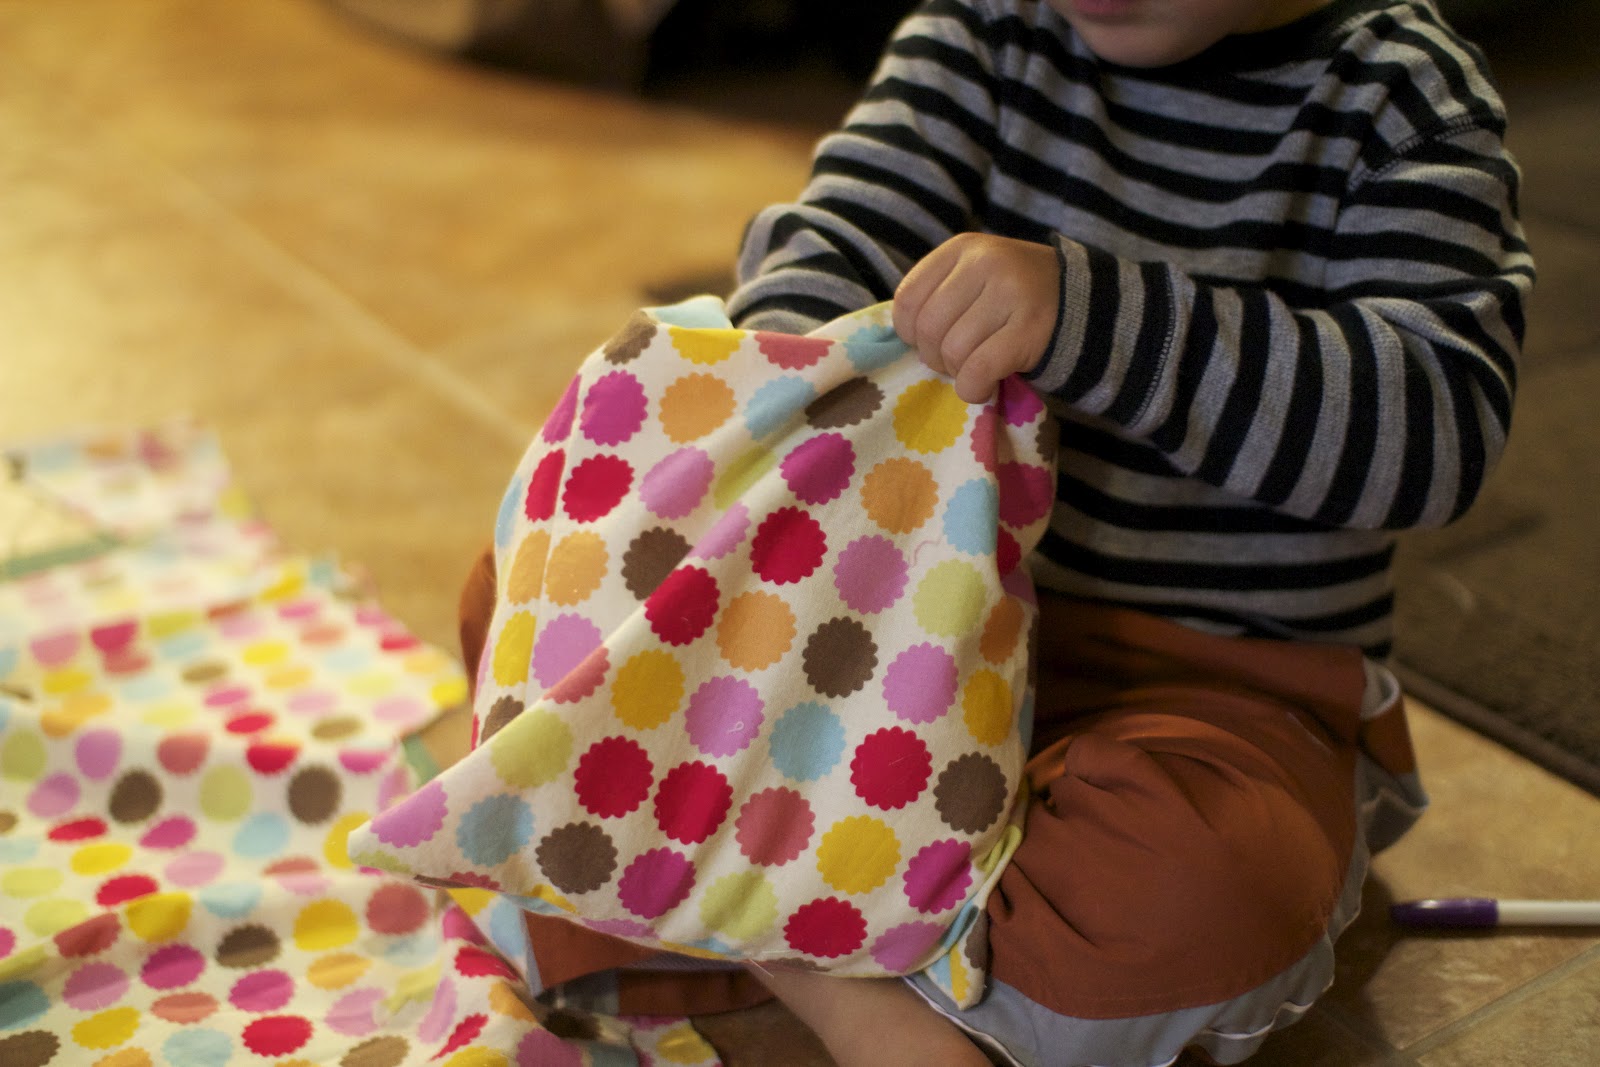
Today I was trying to get some sewing done during Lily's nap, when Bobby came in wanting to 'help'. He was so insistent that he help me make a pillow for his good friend, Tagan. Almost in tears, he was trying to convince me so bad. So of course I said "yes"! I quickly cut two squares and sewed them together, then he stuffed the pillow. He thought it was so cool that he made something!  He had a blast cutting, stuffing, and using a marking pen to measure and draw on the fabric.

 I have the sweetest little boy ever. I mean, look at that face!


So happy to be helping Mama!


Cutting....


Stuffing...he thought it looked like clouds!


More stuffing...


Ta da!!

Wednesday, February 1, 2012

Oh Baby!


This past weekend, I traveled to the Houston area to help throw a baby shower for my twin sister, Casey. Casey is a wife, mom, designer and party planner extraordinaire. She has a great eye for anything.  I think Casey should be a party planner for her next career! She threw me two amazing baby showers. (Which you can check out here and here.)

Since she is such a great party planner, we knew we had to come up with something good! Her shower was full of bow ties, mustaches, and stripes! We also threw in a photo booth with mustache props for added fun. Very Casey... She loved it and had a great time!

Casey and her family are moving to Scotland very soon for my brother-in-law's job. They will be there for 4 years! I don't know what I'll do without my daily phone calls or multiple texts throughout the day. Thank goodness we live in a world with internet and Skype!  I will miss her so much, but I know this will be a fun adventure for her and her family! And you better believe we will be going for a visit! She will be blogging about it all, so stay tuned!


I made some fun bibs and onesies to go along with the theme. 


 Isn't she cute?
 (thank goodness we share maternity clothes...I will inherit this dress some day!)


Thursday, June 16, 2011

Father's Day Basketball

Lately Rob has been saying how he wants to start showing Bobby how to dribble the ball. I thought it would be fun to give him a personalized basketball from Bobby so they could get started!

It turned out so cute!


Concentrating VERY hard...


Messy hands!!

After the handprints dried, I wrote on the ball with a paint pen.

Can't wait to give his surprise to Daddy!

He is so proud!

Happy Father's Day to my hubby, my daddy, step-dad and my father-in-law!

Tuesday, April 19, 2011

Easter Dress and a Tutorial, too!


One of the many things I was excited about when finding out I was pregnant with a little girl was the fact that I could make her Easter dresses! The fabric I used had been in my stash for over a year, just waiting to be made into something. I always thought it would make a perfect Easter dress.

I found this Etsy shop, Sew Sweet Patterns. It has the most adorable little outfits and dresses. I need to buy more!! I used this one to make Lily's dress. The pattern had clear and easy directions, perfect for if you are a beginner seamstress. I finished in about 1.5-2 hours. I am super happy with how it turned out. Lily is pretty petite for her age, so the dress is a little big, but that's ok. She'll grow into it!

Easter Headband Tutorial:
I made Lily's headband also. Want to know how I made it? It literally took me about 10 minutes. So easy.

Gather your materials:
Iron on interfacing, fabric of your choice, 1 matching button, 1/8" elastic, scissors, straight pins, iron, 3 different sized circles (I used ribbon spools) for tracing and a marking pen.
After you iron the interfacing to your material, trace and cut 3 different sized circles.

Measure your baby's head and subtract 1 inch, than cut your elastic. (Lily's head was 16.5"-1=15.5")
Pin the 2 bigger circles and the elastic together like this:

This is what it should look like on the back:

Sew a circle to attach the 2 bigger circles to the elastic.

Place the smallest circle on top. Center your button on top of that circle and sew in place. Tie off the button threads and trim.

That's it! See? Quick and easy!


Tuesday, March 15, 2011

Please Vote!

I am so excited. I entered this photo in the 'Kids with Pets' photo contest, and now I am one of the finalists to be chosen for this weeks winner! How cool is that? Please go here to vote for my photo. Click on the 'vote for me' button under the picture. You have until March 20th, and you can vote everyday!


***Update #1***
My picture is currently in 4th place! I can' believe it. Please keep voting!

***Update #2***
I'm now in 2nd place!! Keep up the votes. Thank you friends!!

***Update #3***
I am the 'unofficial' winner!! Woo Hoo! Thanks to everyone who voted...and voted...and voted... I couldn't have won without y'all!

Related Posts Plugin for WordPress, Blogger...