Showing posts with label for the girls. Show all posts

Sunday, September 30, 2012

Tutorial: Quick and Easy Skirt


I don't normally make clothes, they've never turn out well for me and most of the time it's just cheaper to buy anyway. But I really wanted to try and make a simple skirt for Lily for Halloween. I found the fabric and whipped one up in about 30 minutes! It turned out really cute. My first article of clothing that I would actually be ok with her wearing. 


I made Lily a cute Halloween skirt, then made her this lavender chevron print one below for her birthday party. Sadly, she spilled coffee all over it about 5 minutes into the party. (Not her coffee, her Daddy's.) Arg. I got the stain out, but she didn't get to wear her pretty skirt. 

I thought I would share with you how I made these easy skirts!  I know it's not rocket science, and I'm sure there are better and more efficient ways to sew a skirt, but this is how I did it, so I hope you enjoy!

Gather supplies:
Main fabric and coordinating fabric for trim
3/4" Elastic
Iron
Scissors/marking pen/ruler/cutting mat
Sewing machine/matching thread
Large safety pin/straight pins


Step One: Cut main panels
(These are the measurements I used for my 2 year old daughter, who is very petite, you may alter them to fit your little one's needs)
Cut two main panels to 10"x18"


I cut both my pieces at the same time so I could cut down on cutting. (No pun intended. :) )


Step Two: Cut the A-line
To make the skirt a little more A-line, I made a mark at the top of the fabric about 1 1/2" from the right side, then drew a line from the mark down to the bottom right corner. I just used my ruler to give me a straight line. 


 I then folded the fabric in half (remember, there are two pieces there) and cut along that line. 


See? I now have two pieces of main panel ready to go. 


 This step isn't shown, but cut two trim pieces, 3"x18".


Step Three: Attach the trim


Take each main panel and lay it face down with the wrong side showing. Lay the trim piece along the bottom (wrong side showing) matching up the two long raw edges. Pin in place and sew along the edge using a 1/4" allowance. (You will notice that the trim pieces are not cut at an angle like the main piece. I forgot to do that step, so I jus trimmed them to match after attaching them. No biggie.)


After you sew the trim on, open it up and lay it flat, with the right side of your main panel facing up. Iron the seam toward the main panel. Fold and press the remaining long raw edge of the trim piece a 1/2". 


Then fold the entire trim piece up towards the main panel and press. Pin in place. Sew along both of the long edges of the trim piece. I used about a 1/4" seam allowance for both edges.  Sewing along the bottom edge will give it a nice polished look and will keep the trim looking nice even after going through the wash. 

Repeat with the other main panel and trim.


Step Four: Attaching main panels together

Lay both main panels (with attached trim, which you notice, I trimmed to match the A-line angle) right sides together and pin along one angled edge. Sew a 1/2"seam allowance along this edge. 


Open and press the seams open. (I forgot to do this step with this skirt, but you may want to cut the excess seam allowance with some pinking shears or serge the seam first.)


Step Five: Make the casing for the elastic and finish!

Fold the top raw edge over towards the wrong side 1/4" and press. Fold again 1" and press again. Pin in place. This will be the casing for your elastic.
Sew along the bottom edge of the casing as close to the edge as you can. You don't want to make the casing too small or your elastic won't fit.


Once the casing is finished, attach the safety pin to one end of the elastic and thread it through. Be careful not to pull it all the way through. 

**My daughter's waist measured 19", so I cut the elastic to 17". 


Once your elastic is threaded, pull and adjust the casing/skirt so that the fabric isn't all bunched up at one end. Fold your skirt in half (right sides together) and pin along the raw edge. Make sure you catch both ends of elastic at this step.


Sew a 1/2" allowance making sure to back stitch at each end. Trim your seam allowance and any long threads you may see. 


Ta Da!! You have made a skirt!! 

Friday, March 23, 2012

Pinterest Made Me Do It: Dress-up Closet

Hey! I'm back with another fun and easy project inspired by Pinterest. There are so many fun things and ideas that I want to do, but there just isn't enough time! My son is really into dress up. Super hero dress up, of course! He has also had a thing for hats ever since he was little (he's a big boy now, ya know!) so he has quite the collection. 

There are a couple of dress-up closets/cabinets floating around Pinterest, which I think are just genius. I really wanted to make Bobby (and Lily) one. I remembered that we had this cabinet. It was sitting in storage for almost 2 years, so when we finally got it out, it clicked. 

Dress-up closet!


This is seriously the easiest project to do. I took out the adjustable shelf and added a tension rod for hanging the growing collection of costumes. I bought some hooks that stick on (I'm telling you...easy) and added them to the inside of the doors to use for hanging masks, necklaces...you name it. 

I also added 2 hooks on one side to hang Bobby's multiple capes. Which, if you need a fun cape tutorial, check out my Reversible Super Hero Cape tutorial


I find that the flea market is a great place to get cheap costumes. Especially around Halloween. I got the Spiderman, Bat Girl, Captain America, and Super Man Cape all at the flea market! For around $8 total. Bobby doesn't care if they are too big for him, he'll grow into them and it gives the costume longevity. He keeps telling me all the other super hero costumes he still needs to complete his collection. I guess it's back to the flea market for me! Lily already has a couple costumes as well. I know she will love this cabinet just as much as Bobby when she gets a little older.


I didn't take a picture of this, but I put a full length mirror on the other side of the cabinet as well. The drawers are perfect for all the hats, masks, swords, fairy wands...

My husband kindly spray painted the knobs for me to add a splash of color for fun. 

I really love how it turned out! We will get years and years of fun play time out of this dress-up closet. I'm so glad I found this idea on Pinterest! 


Bobby is too...

Friday, March 9, 2012

Featured: Simple Girls Headband Tutorial

I realize I have been MIA for awhile, but I have good excuses, honest! I have been hard at work on some tutorials for Ann Kelle. I posted about my first one last week, and yesterday my second one was featured on her blog!

This headband was inspired by my 10 minute headband. I altered it a bit for my daughter. She looks so adorable in these!

Perfect for the summer. 


I have more excuses why I haven't been around, but I'll share those with you later. :)


Sunday, January 15, 2012

Tutorial: Dino Hooded Bath Towel

 Being a mom of two, I am finding it harder and harder to find time to sew. So when I can finish a project during my daughter's nap, while also tending to my 3 year old ('Mama, I need to go potty...Mama, can I have a snack?' You get the picture.) it is AWESOME. This is one of those projects!!

The Dino Hooded Bath Towel.

Quick. Easy. Super fun.


I first found this tutorial from Infarrantly Creative, years ago. It is super easy and only takes about 30 minutes. When I made Bobby one, I added some dino spikes to the hood. He loved it!! He 'ROARED' all the way from the bathroom to his room! Lily was growing out of her store bought hooded towels, so I made her one also. A girly one. She looks so cute all bundled up!

I decided to let y'all in on how to make one of your own! 

The great thing about these towels is that they are large, so your kiddos can use them for a long time!


 ROAR!!!

Do you want to make your own Dino Hooded Bath Towel?? Keep reading to find out how! 


Supplies:
**You might want to change your needle for heavyweight fabrics, since you will be sewing through multiple thick layers.
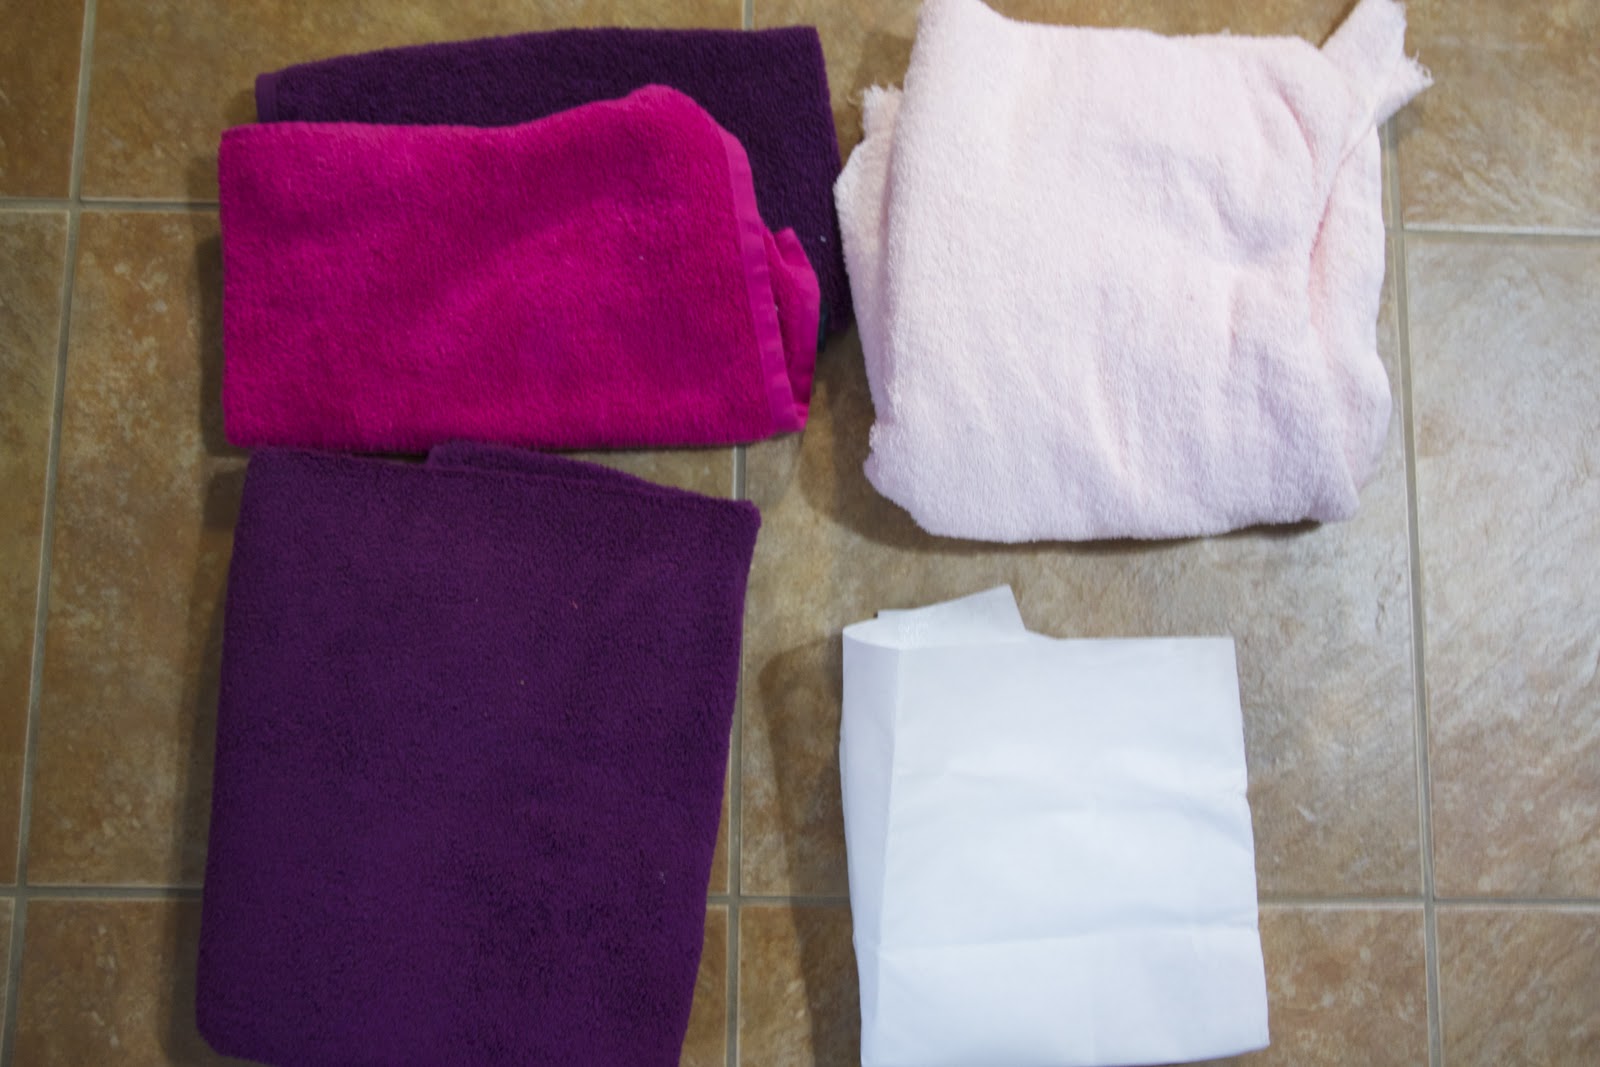
1 full size bath towel
1 hand towel in the same color as the bath towel
1 hand towel in coordinating color for the spikes
Heavyweight iron on interfacing (you can find this at Hobby Lobby or Jo Ann's)
(The picture shows a light pink terry cloth, but I ended up not using that...so ignore it!! )

Iron, straight pins, marking pen, ruler or measuring tape.

Make the Hood:
Take the matching hand towel and measure 10" from the bottom. (Long ways, if that makes sense) Draw a line all the way across to mark where you will cut. Cut along the line. This will be your hood.


Fold the hood in half, matching raw edge to raw edge, finished edge to finished edge. Cut along the fold. Set aside.


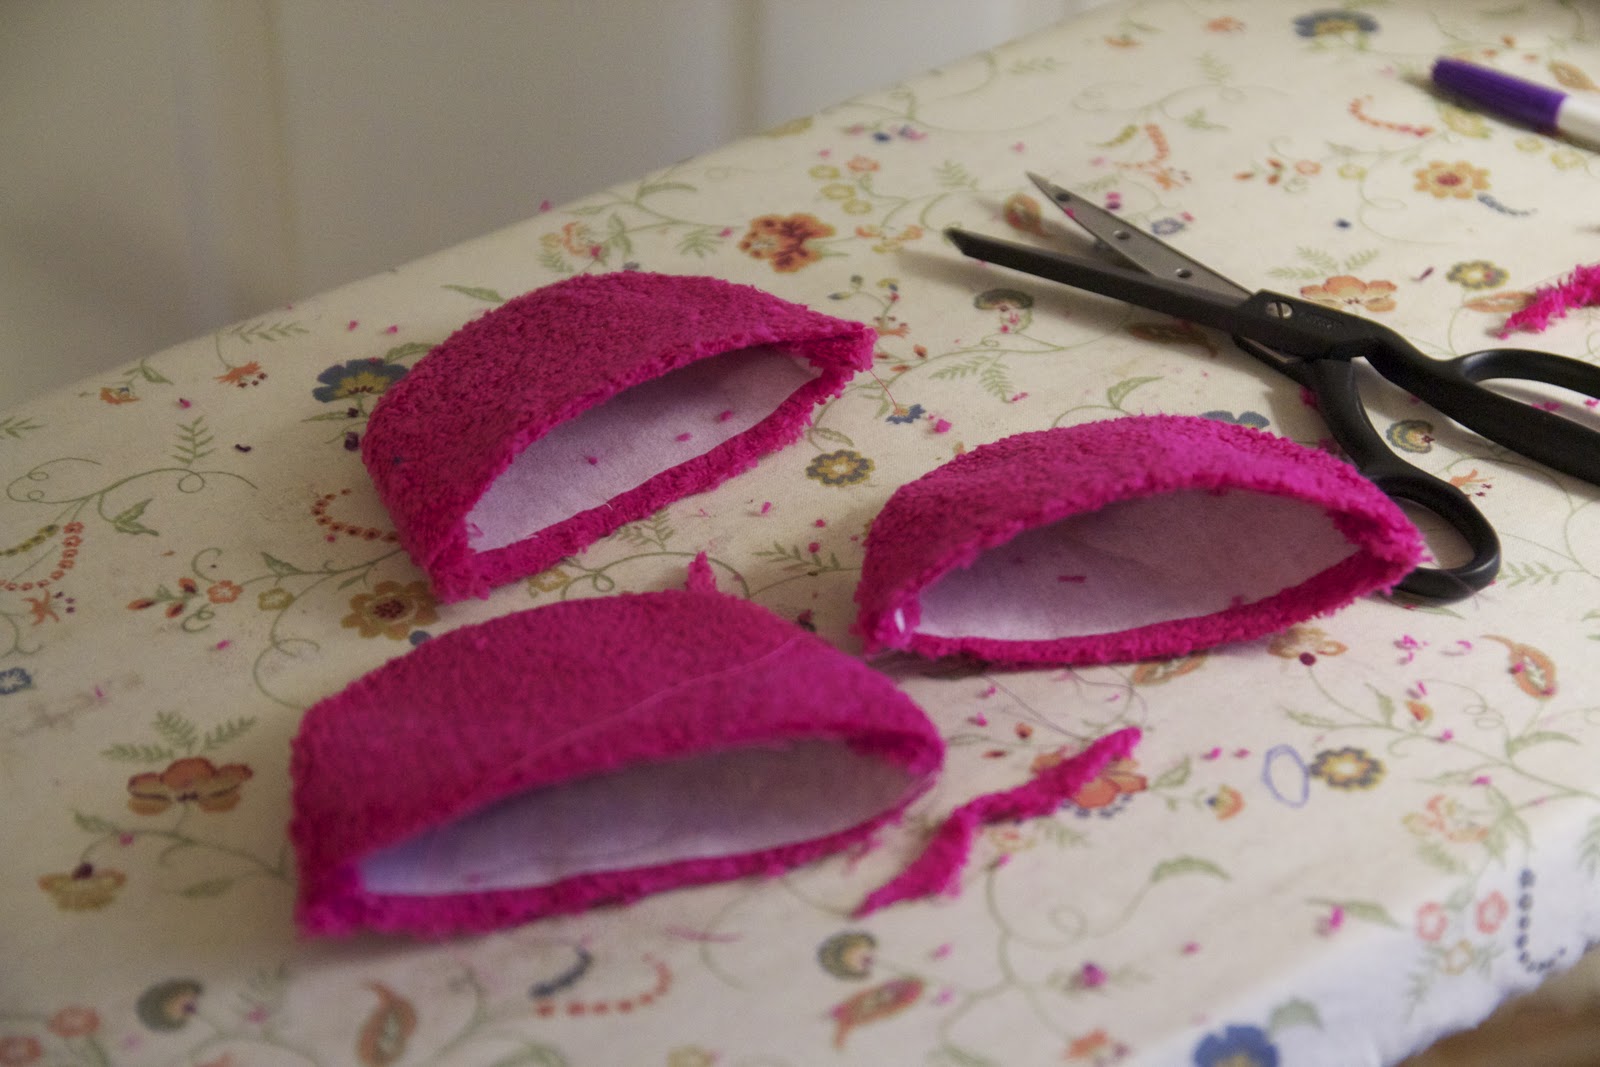
Now take your coordinating hand towel and cut the spikes. For my daughter's towel I made half circles, for my son I made triangle spikes. You can get creative with this! There are so many different things you could do. Wide triangles or narrow...semi circles or longer circles...whatever you decide, I'm sure it will be great!
Cut 6 pieces.


Cut 6 pieces of interfacing. Cut them slightly smaller than your terry cloth. Follow the directions and iron them onto your spikes. 


Then, pair up your spikes and pin them together, right sides facing. (You should be able to see your interfacing.) Sew along the curve with a 1/4" seam allowance, leaving the bottom open. 
Turn right side out and press with your iron.


After your spikes are nice and pressed, sew along the curved edge, giving it a nice finished look.


Now place the spikes onto the right side of one of the hood halves. Match up the raw edges. 


Place the other half of the hood on top, sandwiching the spikes in between both pieces. again matching up all the raw edges. Pin all 3 layers together. 


Sew along the 2 raw edges, making sure to get all three layers. Follow the curve of the spikes...yours should look similar to the picture above. Make sure to back stitch at each end.


Next, cut the corner making sure not to cut where you sewed. I ran an extra zig zag stitch all along the edge to prevent fraying. If you have a serger, you could serge this edge as well. 


Flip it right side out! You now have your hood! Set aside.


Attach hood to the bath towel:
Take your bath towel and fold it in half, matching the shorter edges. Iron on the fold to make a crease. Open the towel and measure 4" on each side of the crease. Mark with a pin or marking pen. 
I don't have a picture of this, but fold each mark towards the crease and pin in place. Sew across making sure you catch all three layers.  You now have a pleat down the center of the towel.


Take your hood and line up the bottom part of the hood with the towel, right sides together. Match the center of the hood (where the spikes are) with the center crease of the towel. Pin in place. Sew all along this edge with a 1/4" seam allowance. 
Take this part slow. Since you are going through so many layers, it is pretty thick, especially when you get close to the spikes. Make sure to back stitch at each end. 


When you are done, this is what your towel should look like. Make sure to remove all your pins!


That's it! Now go give your kids a bath! They will be so excited to use their new Dino Towels!!

My little cutie. Who says dinosaurs are just for boys??

Sunday, October 30, 2011

Best Friend Bear


 When it comes to making costumes, the easier, the better. Especially when the kids are too young to really understand why they are dressing up. I bought Lily the 'Best Friend Bear' Care Bear at the flea market for $.50, and she fell in love with it! It is the first stuffed animal that she has grown attached to. Don't you dare give it a hug! That's her bear and she knows it! It's hilarious. I thought it would be so cute to dress her up like her beloved bear. 


This costume cost me....hmmm...let me add it up....$.33! Really. I already had a purple onesie, the felt (except the purple felt....hence the $.33), elastic for the ears and stuffing for the belly/ears. Super quick and easy to make! I sewed the rainbow on the white felt, then placed some batting under it and sewed it on the onesie. I even sewed a little heart on the booty. So adorable! It turned out so cute.  For the ears, I cut out four pieces of felt, sewed on some pink for the inside of the ears, stuffed them with a little stuffing and then sewed the ears onto the elastic. To my surprise she actually kept the ears on!

This costume is easily customizable to any Care Bear of your choice! Easy for an adult costume too. Just draw a heart on your nose and some freckles and you are all set! 


Monday, August 22, 2011

Shop Update: Crayon Rolls

I hope everyone is having a great first day back to school!! I know it's hard for all you mommies of Kindergarteners, but just think about how much fun they are having! I know I'll be a mess when my kids start school. I cried when Bobby started Mother's Day Out last year!

I finally sat down in front of my sewing machine and made a bunch of crayon rolls for the shop! I thought it was fitting for the start of the school year. Stop by and see if anything catches your eye!

One of my favorites for girls!

So fun for a little boy!

I heart skulls!

I just love this print by Ann Kelle. So bright and cheerful!
Related Posts Plugin for WordPress, Blogger...